molding and casting.
This week was definitely one of the most exciting weeks for me. I felt that I was very much able to encapsulate the joy of "making" while in this class. In fact, I was so excited that I got started all the way on Wednesday night.
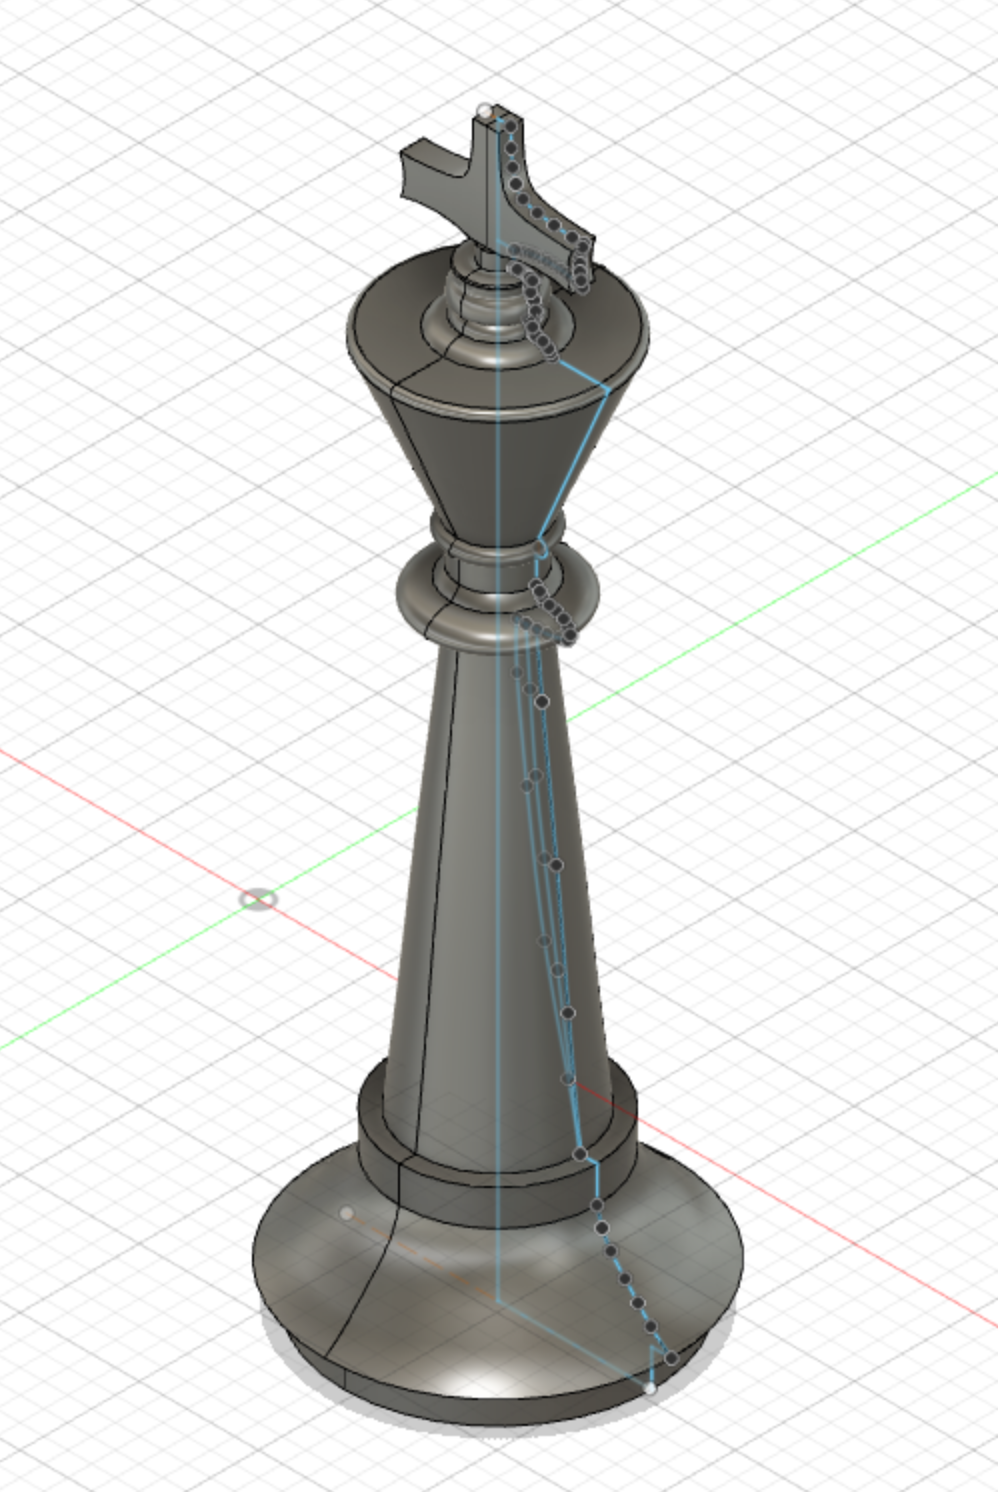
I quickly decided that I wanted to make a chess piece since that would helpful for my final project. If it was easy enough, I would consider casting an entire chess set. First, I drew out how I wanted my chess piece to look on Procreate, an iPad drawing app. Then I moved that drawing into Fusion 360, and using splines I sketched an outline of half the piece. Revolving the sketch around the center axis, I created my whole piece. I was unsatisfied with some of the proportions so I quickly modified those to make my perfect chess piece! (It's a king.) However, I made sure to cut the piece in half since I would be making a two part mold.

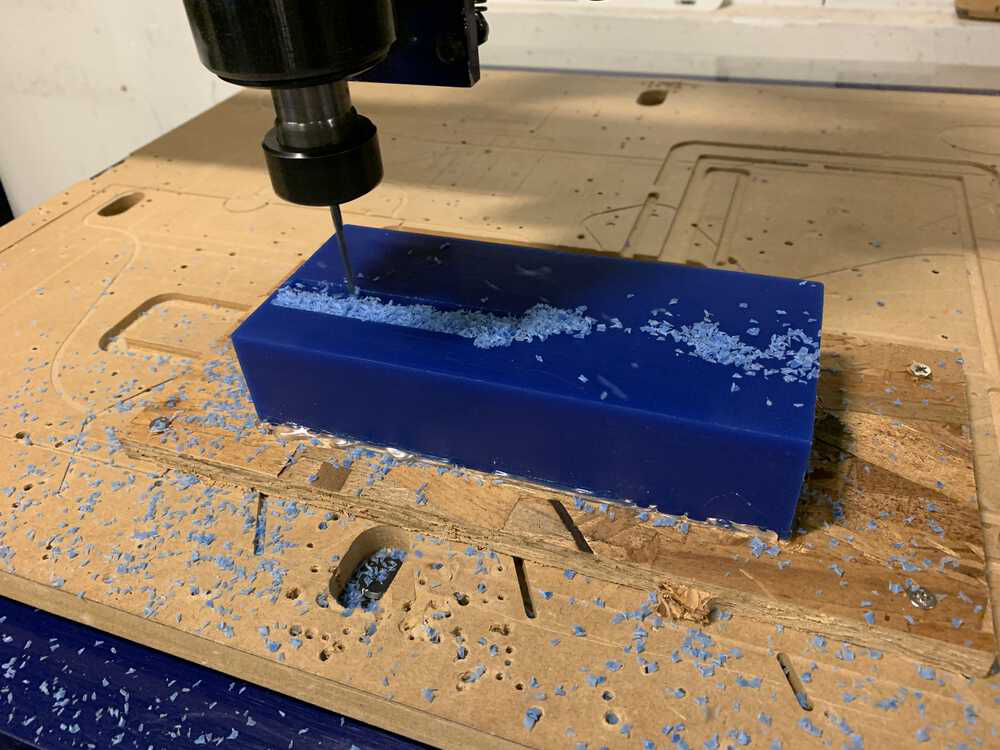
Then the following day (Thursday), I got 3-axis machine trained, which was essentially just like a mini version of the ShopBot we had used two weeks ago. So this training was relatively straight forward. It was super satifying to watch the wax be drilled into because it creates these tiny, beautiful, blue wax curls. I guess that they are annoying to clean up, but as the machine produces the scrap, it is very satisfying. However, I still could not cast my piece since I hadn't been trained in casting yet. That was to be tomorrow. So I came in on Friday to be trained to cast by Graham. It was my first time meeting Graham and he is very funny! I essentially learned that Oomoo, the silicon mold rubber we were using this week, should be mixed in a 1:1 volume ratio. However, one of the casting materials, Hydrostone, has a different ratio depending on weight. Therefore, it is very careful to remember if the ratio is by volume or weight! Unfortunately, I had another meeting so I had to run before Graham could show us how to cast using the metal alloy and that is exactly what I wanted to cast with. Therefore, I told myself I would cast on Monday since Graham would be there.
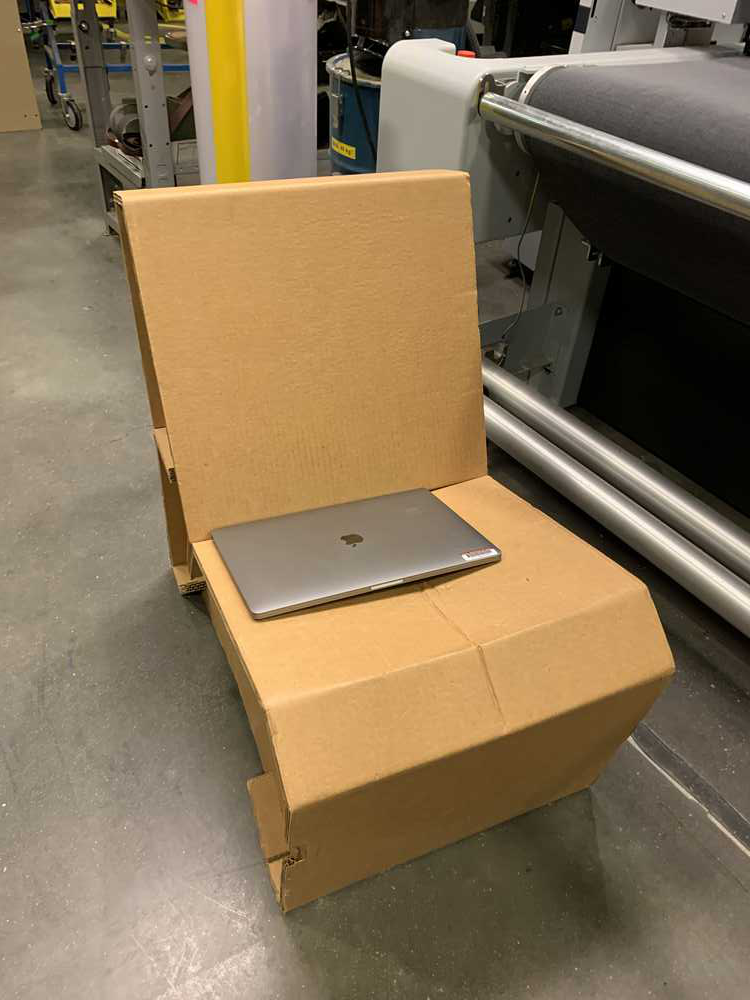
Now that I had received all of my training, I was ready to make my chess piece! I came in on Saturday afternoon with Raechel and Thais. Raechel was using the CNC mill, so I sat on this cool cardboard chair in the machine shop. It was very comfortable. However, Raechel ran into some issue where her design wasn't properly displaying on the block. We learned that when changing the dimension of the model, we should lock the xyz axes. However, the next time that Raechel tried to mill, the machine started milling in a random place. To fix this, we realized that the zero was not chosen correctly, so we fixed that. It was REALLY helpful for me to trouble shoot with Raechel since when I got on the machine, there was no issues! I imported my STL into ProCarve and then clicked all the right settings (some of which I had figured out with Raechel) to get both the rough and fine cut files.
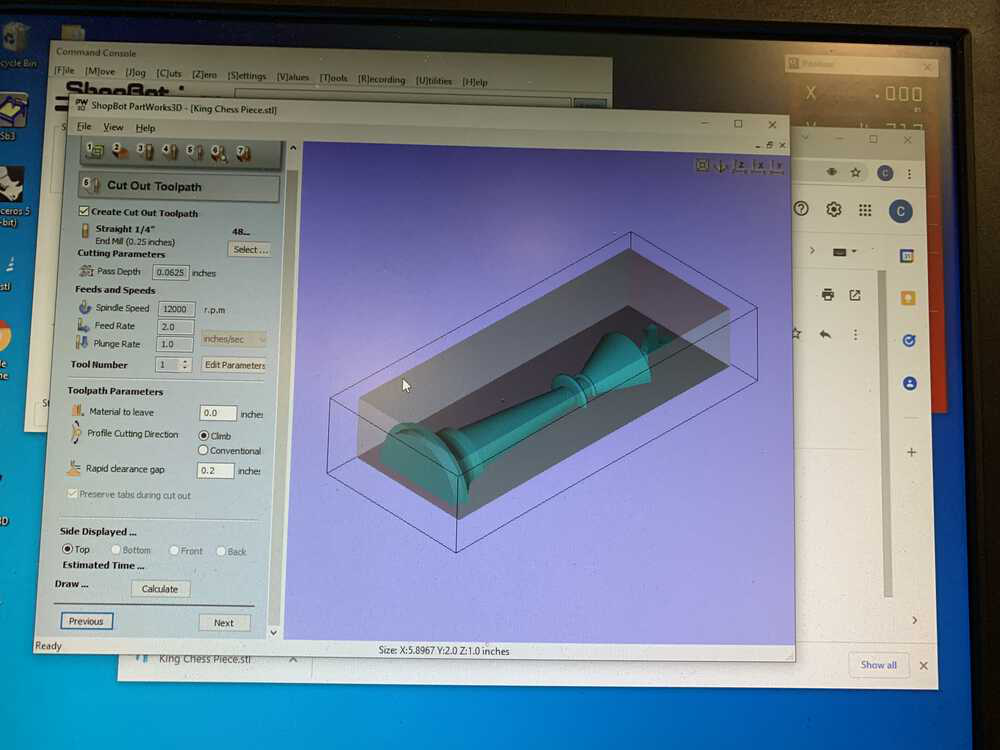
Time to mill! As usual, I drilled my board into the CNC mill, thankfully with no injuries this time. I then zeroed the appropriate values. Finally, I used the ShopBot application to load the rough cut file and start milling! I was surprised since this only took around 10 minutes. Then keeping the same zero, I loaded the fine pass file and milled that, which only took around 7 minutes. When I took out my wax block, the design was perfect! So the only sad part was that I hoped to mill two copies so that I make the molds simultaneously instead of one after the other. However, my milled piece went slightly more than halfway on the wax block :( Then after Raechel helped me get the scrap wood off the wax block, we both walked into the casting room. Together, we made the Ooomoo. This involved mixing both Part A and B individually for 3 minutes. Then you combine equal volumes and mix for 3 minutes. This was much harder than anticipated and definitely gave me an arm workout. Part A was extremely viscous and would hence stick to the side of the mixing cup and would refuse to get mixed in. It was also extremely difficult to mix Part A in without introducing air bubbles. I was not looking forward to doing this again. Finally, I got my Oomoo properly mixed, so I poured it into my mold. There didn't look like there was a lot of air bubbles, but I forgot to tap my wax mold. There was nothing to do now but wait, so Raechel and I left together into the pouring rain.


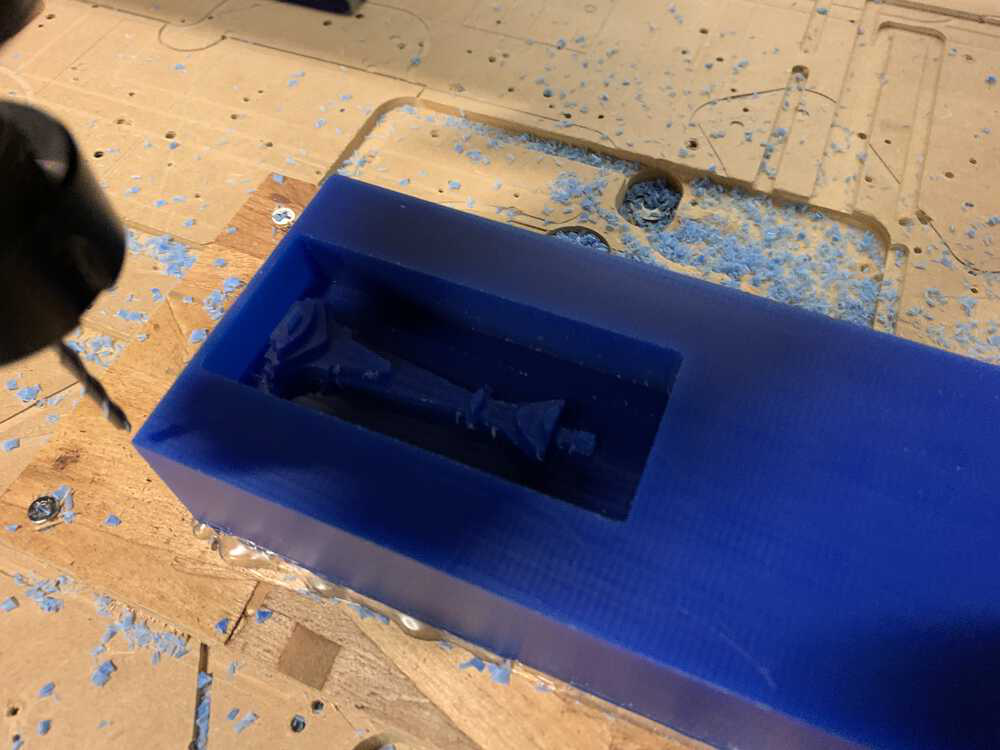
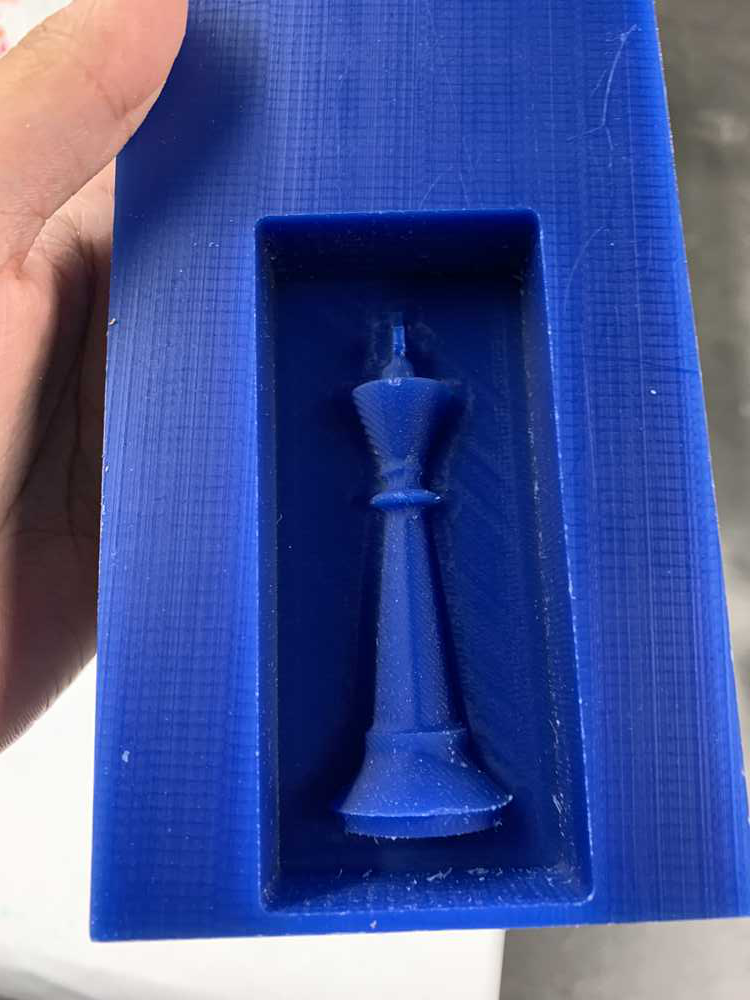
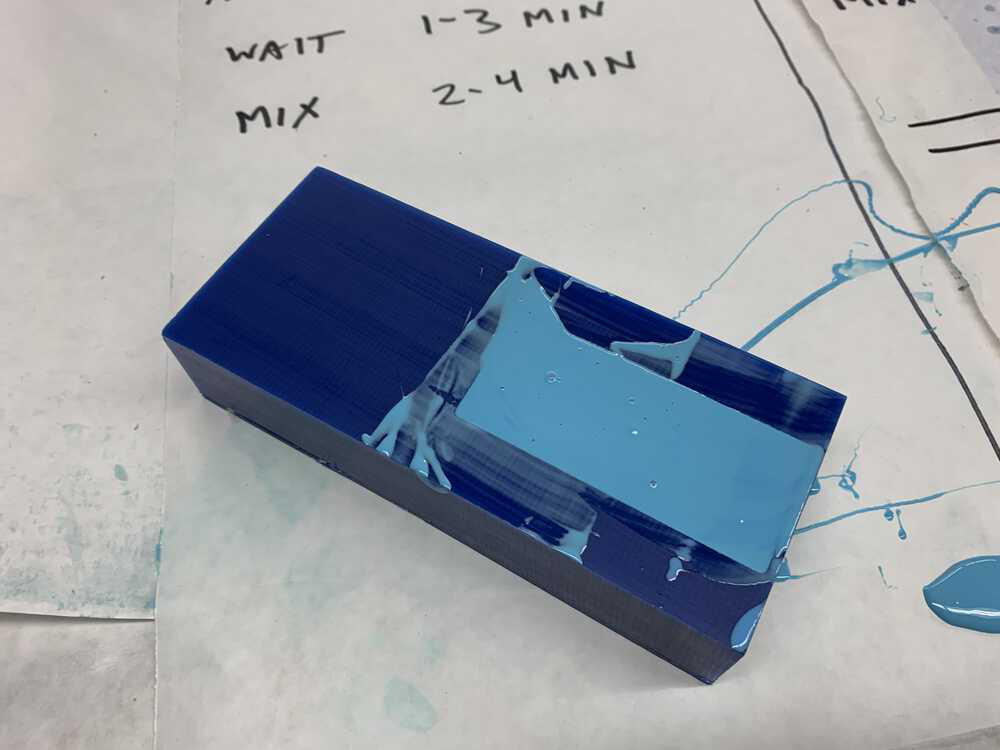
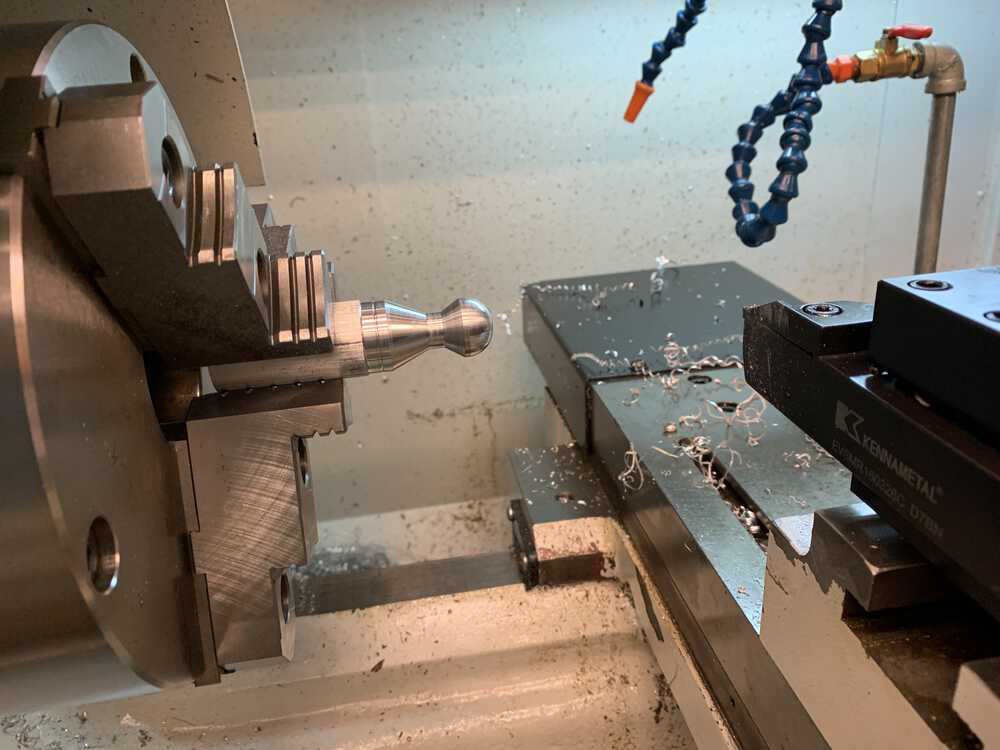
I came back the following day on Sunday to check my mold. It had come out really well, however, there were still some air bubbles. I whipped another batch of Ooomoo quickly using the same procedure and poured into my wax mold. It needed to cure for 75, so I went and made a pawn for fun using a lathe. When I came back, my silicon has cured perfectly! No air bubbles this time. Very satisfied, I went back home that day.
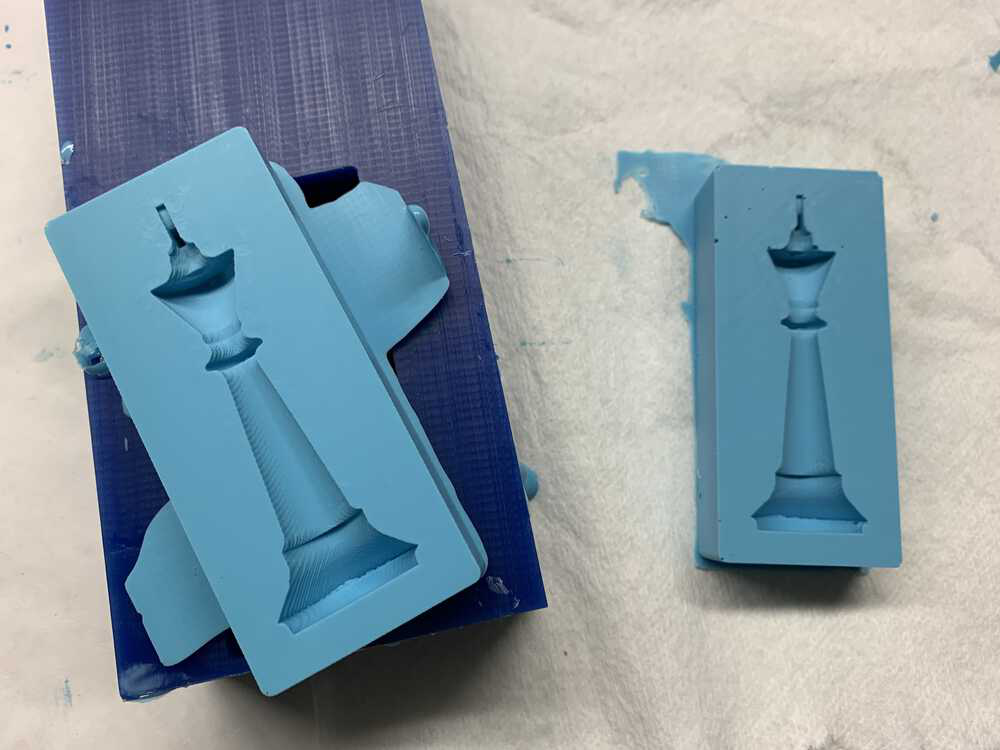
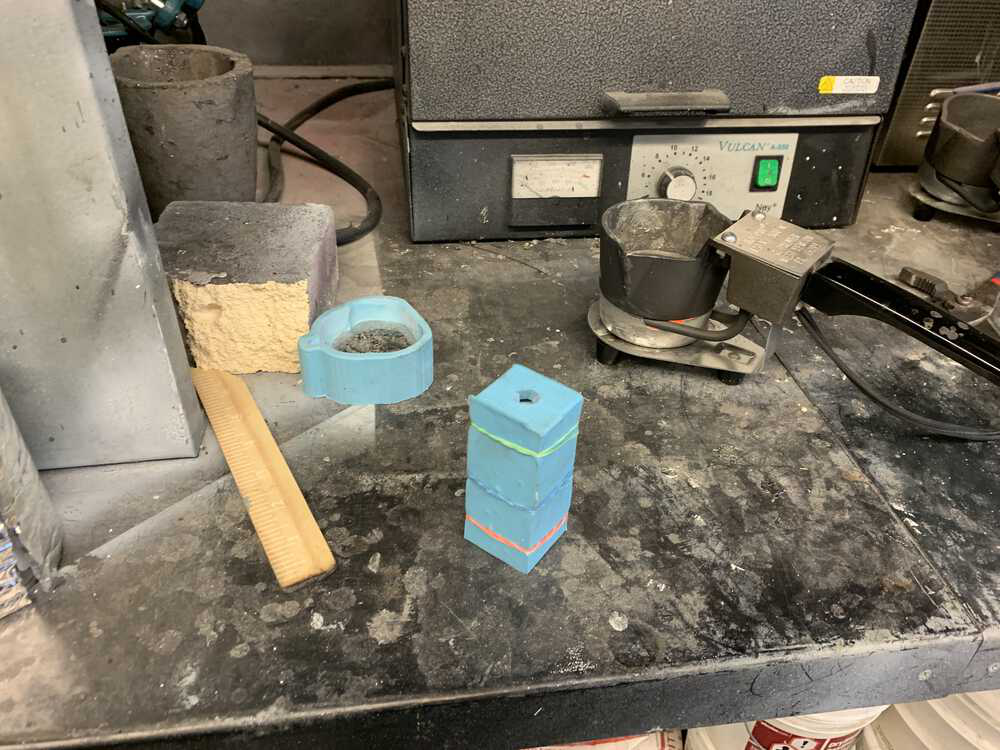
I came back on Monday, ready to cast! Which the help of both Tom and Graham, I first dusted baby power onto my molds to help with sticking. Then I rubberbanded my two molds together and cut a hole into the top where I could pour the molten metal into. I was pretty nervous that the mold would break apart since it was only being held together by rubberbands. Apparently, I was also the first person this year to cast using a two part mold, so the instructors were also curious to see if my mold worked. To everyone's surprise, it worked perfectly! After 10 minutes, I dumped my mold into water and then carefully extracted the piece. It had a little nub on the end, which was expected, but other than that, it was perfect! (Well, it had a few bubbles due to the airbubbles, but whatever.)

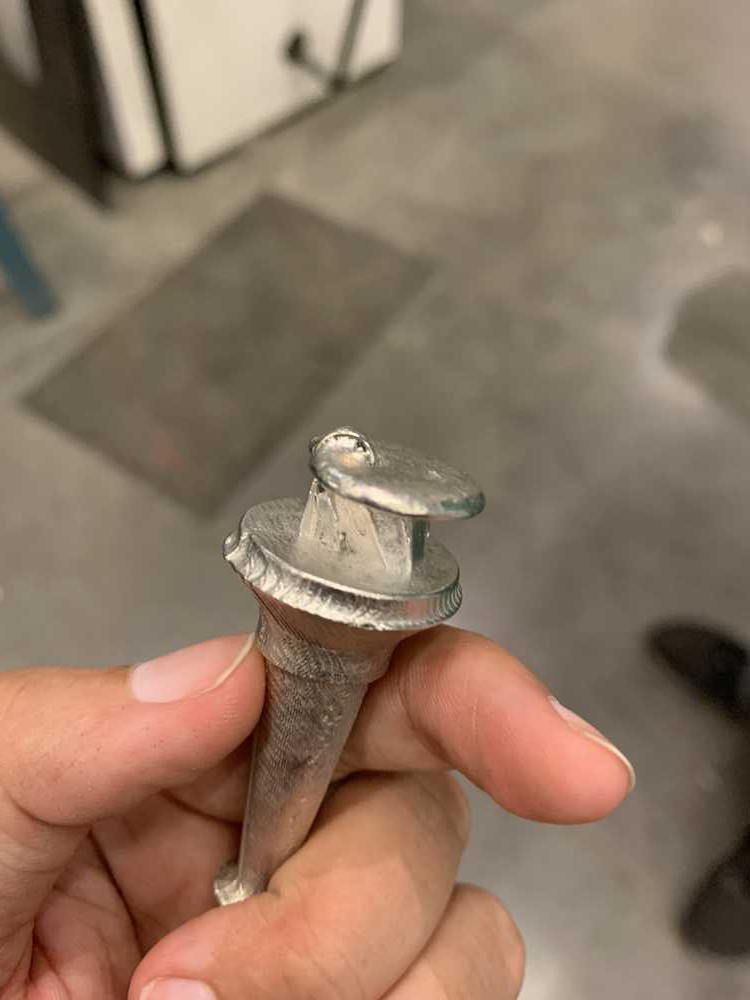
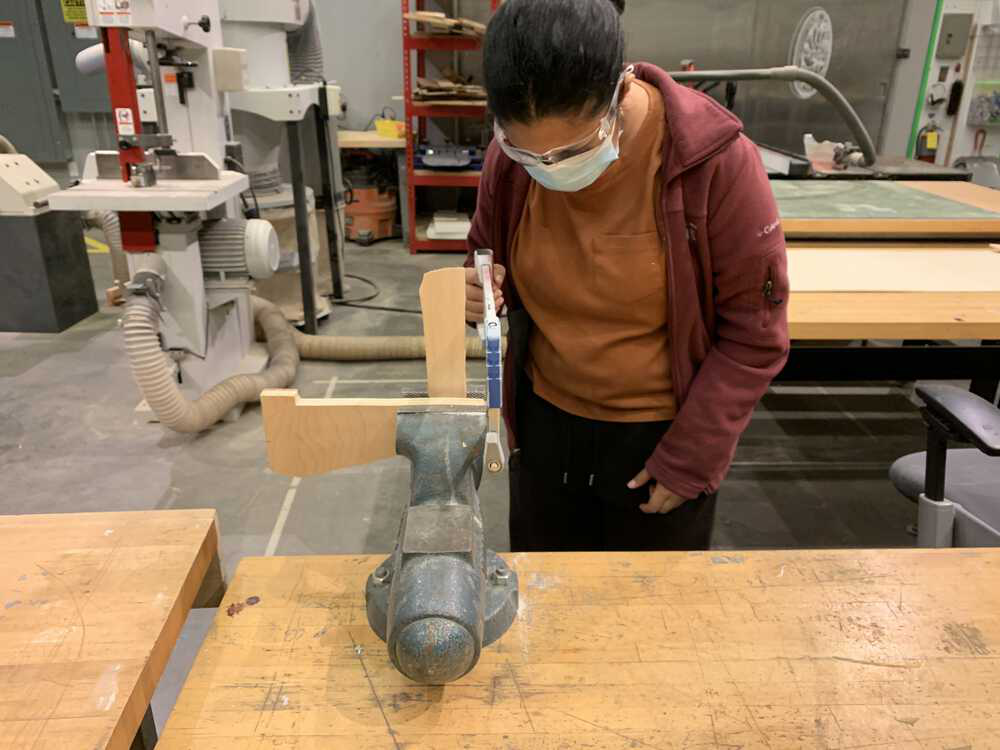
Now I wanted to test if I could embed a magnet into the piece. Graham had a few small magnets lying around, so he gave them to me. I prepared my molds again and after pouring the material, I tried dropping a magnet in. To everyone's surprise, it floated! However, this was bad cause it ended up in the stub I would eventually cut off. Still a nice experiment though. So then I experimented with two way of removing the stub. For the original piece, I tried to "melt" the stub off but I accidentally touched the side of the piece to the side of the pot, so it melted a bit there. So for the second piece, I just used a saw to cut through the stub. It cut like butter! Then I used the metal sander to smooth out the bottom of both pieces. The result was two beautiful chess pieces!

And finally, here is my STL file: STL File